To integrate easypay with WooCommerce, install the plugin and follow the steps in the manual below:
- E-commerce Login
Log in to the easypay E-commerce platform using the same access credentials (email and password) as your backoffice.
Alternatively, you can always access this menu as follows:
Log in to the easypay Backoffice > select the “Apps” option > at the bottom, simply click the E-commerce button. You will be redirected in a new tab to the easypay eCommerce platform.
-
Create Store on the e-commerce platform
In this menu, you will create your connection to the WooCommerce store.
-
Create Store
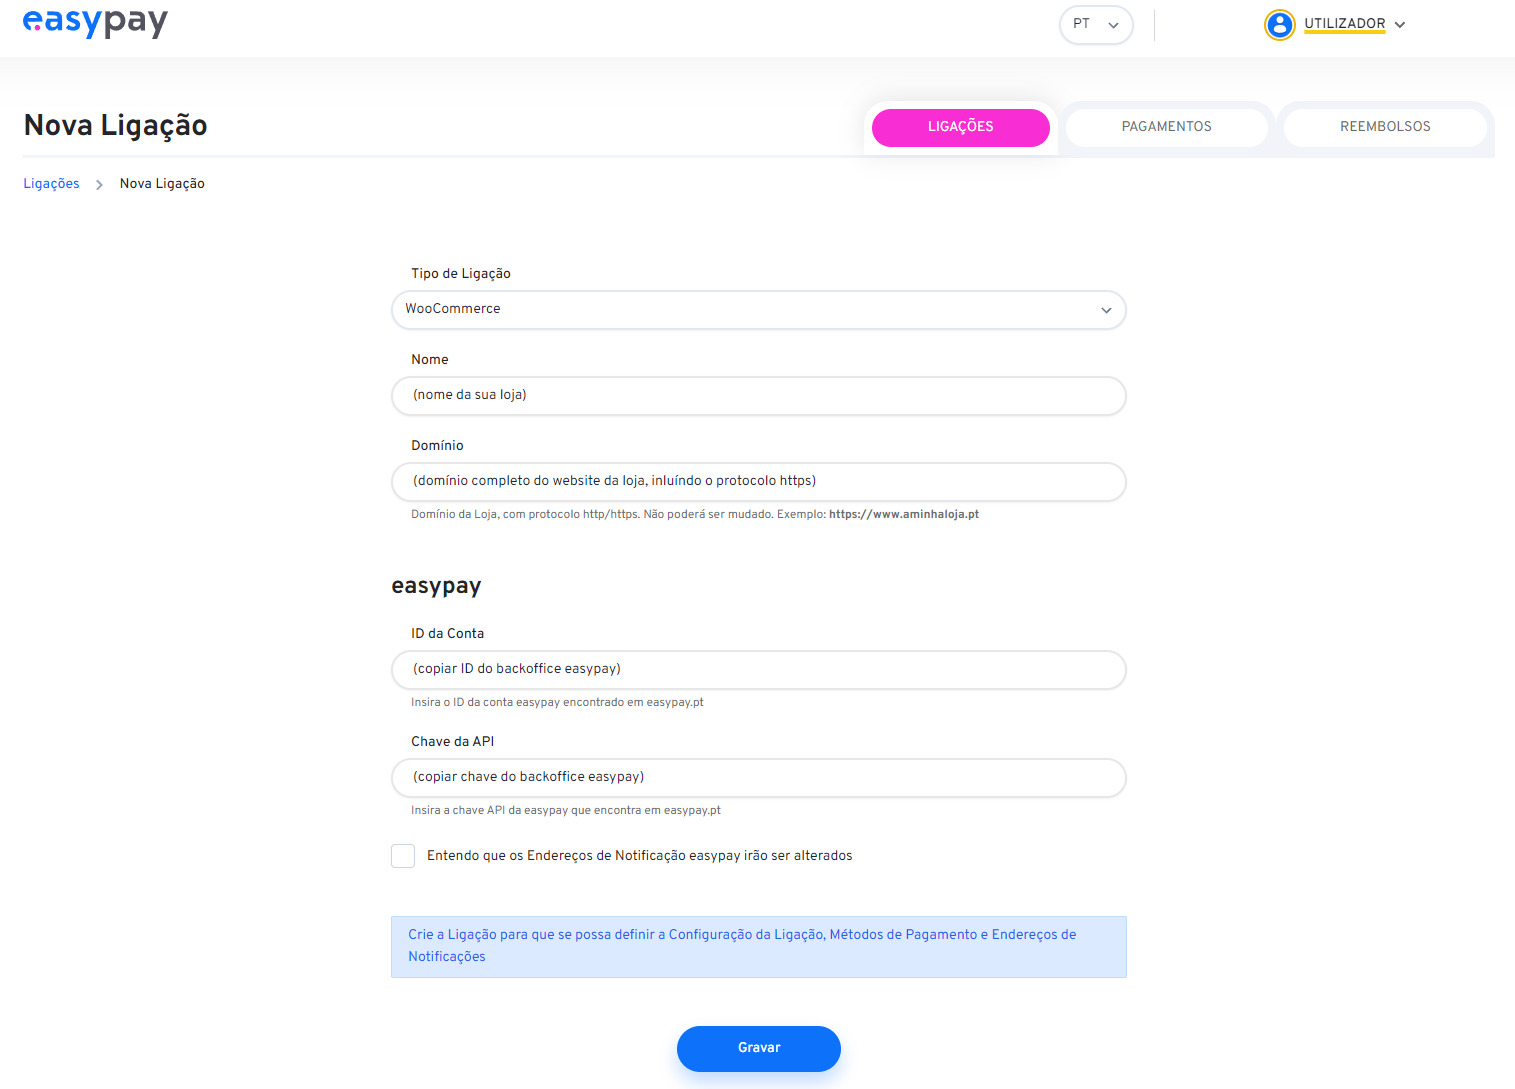
To create your store, click the “+ Create Store” button and fill in the form that appears.
If you have more than one store, you must repeat the process for each domain you have.

-
Fill in the data to create the store connection.
-
Data to fill in:
-
Store Type: WooCommerce
-
Name: Your store name
-
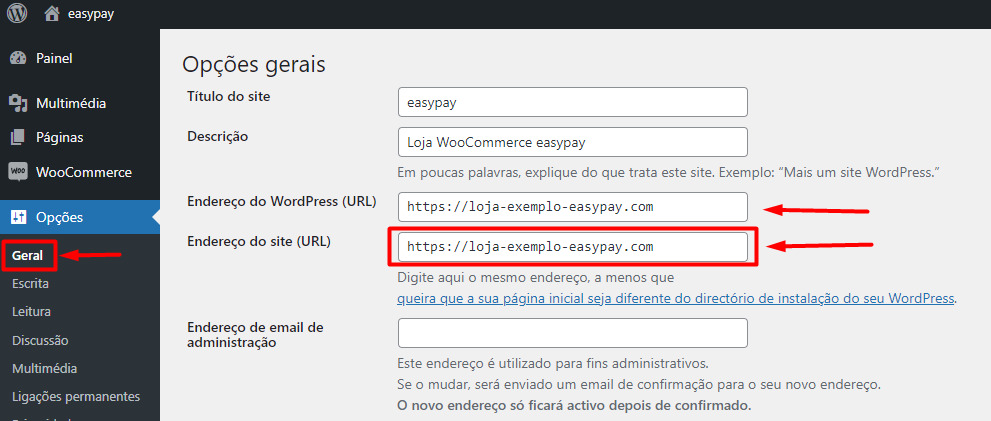
Domain: Full URL. Please note that you should always retrieve this information from the following option in the Backoffice (WordPress): Settings > General > copy the Site Address (URL)
-
Note: Do not type the URL manually.
-
-
-
easypay: easypay Keys (Account ID + API Key): See step 4 – In this step, you will generate the easypay keys (before saving the store)
- Configure easypay: Access your easypay Backoffice and go to Plugins > WooCommerce > Generate keys in (+New). The keys will be generated, including the Account ID and API Key to be configured.
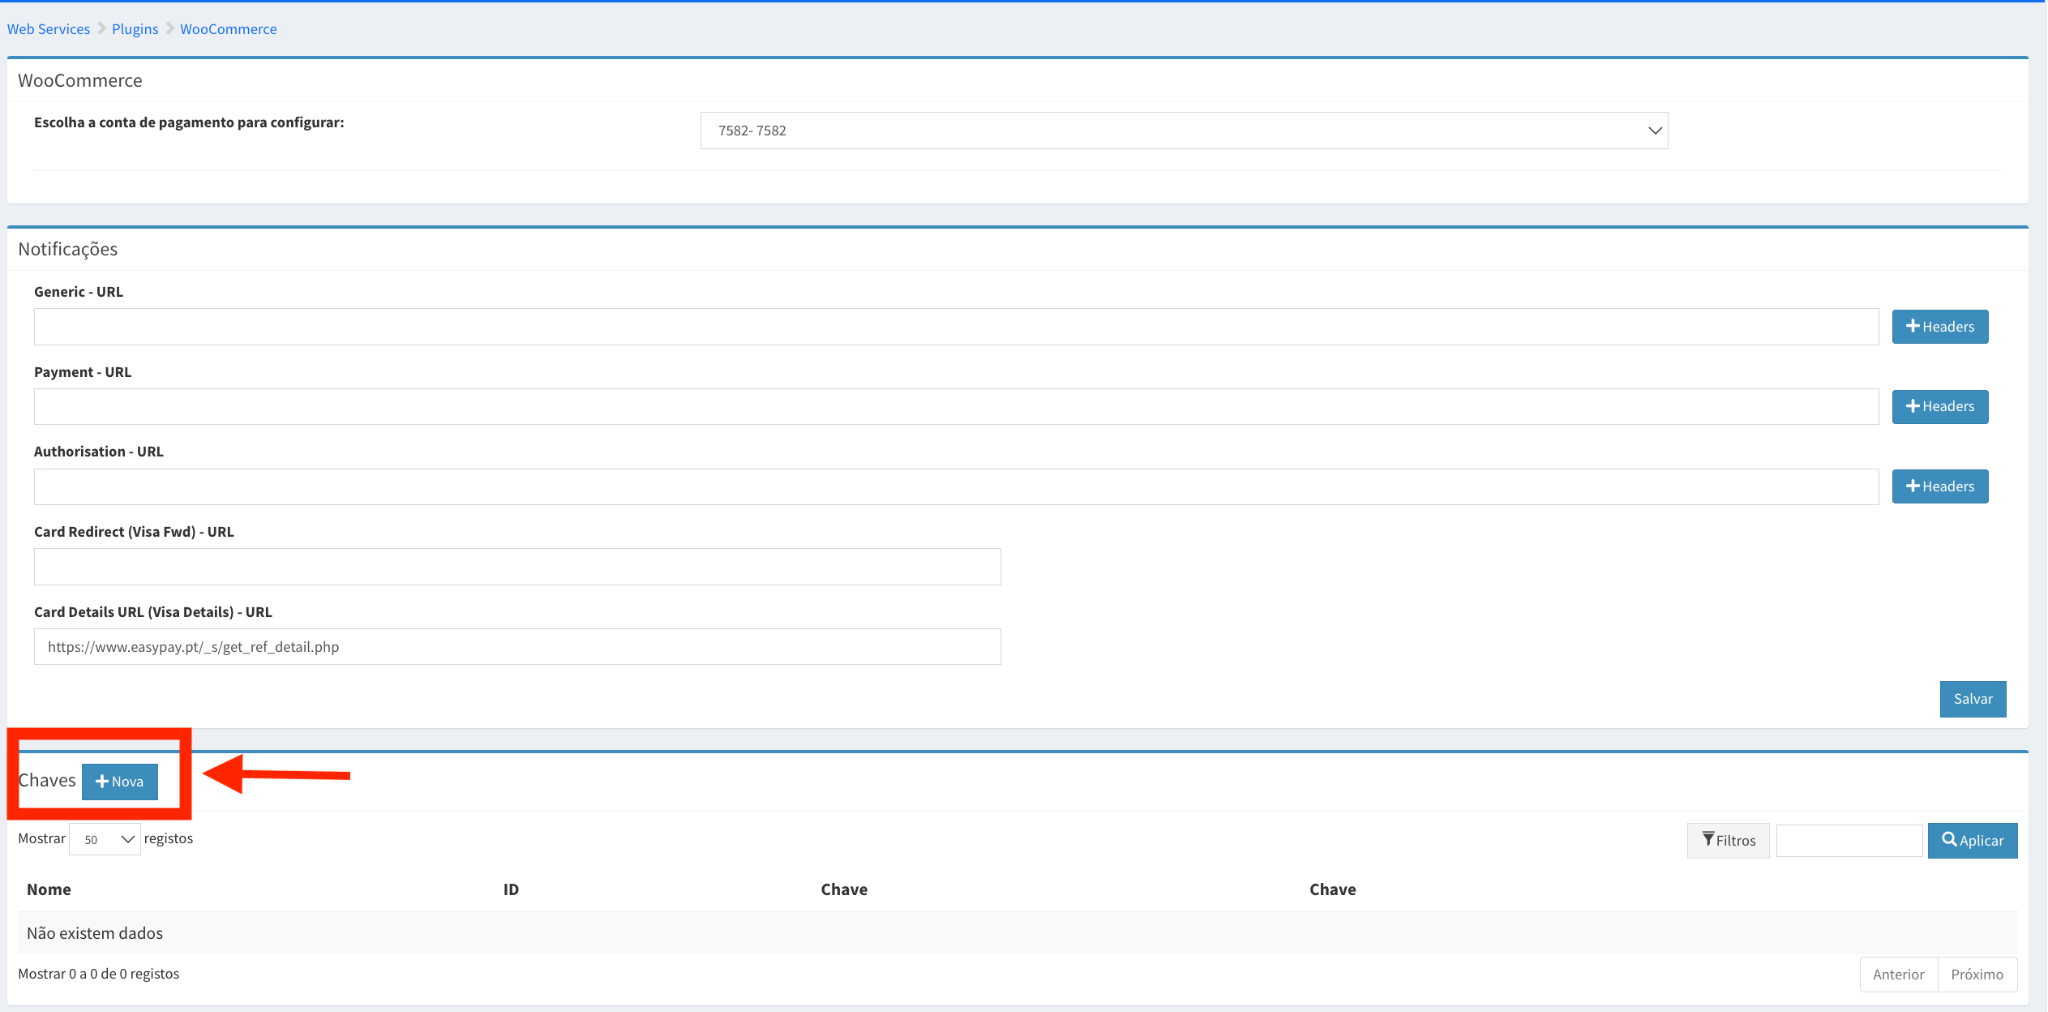
At the end, you only need to copy the previously generated keys (Account ID + API Key) and paste them into the eCommerce Backoffice.


- Validate the checkbox to authorize the automatic copying of communication URLs to your easypay Backoffice.
Click “Save”. - After this step, your store will be submitted for validation (maximum processing time: 2 business days).
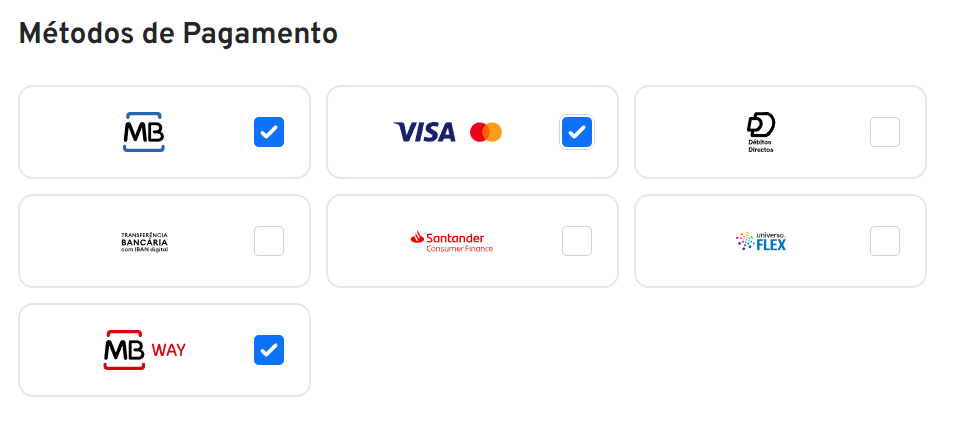
Simply select the desired payment methods and click “Save Store” (button located at the bottom of the page).

Important Notes:
This way, the store is fully created, and only validation by easypay is required. If this validation is not completed within 2 business days, you should contact easypay.
It is recommended that the store is only registered on our e-commerce platform once a WooCommerce store has already been created. - Validate the checkbox to authorize the automatic copying of communication URLs to your easypay Backoffice.
- Configure WooCommerce
This section has three steps to complete.
Step 1 — Install the easypay plugin:
Go to the WordPress “Plugins” menu, select “Add New Plugin”, search for easypay, and click “Install Now”.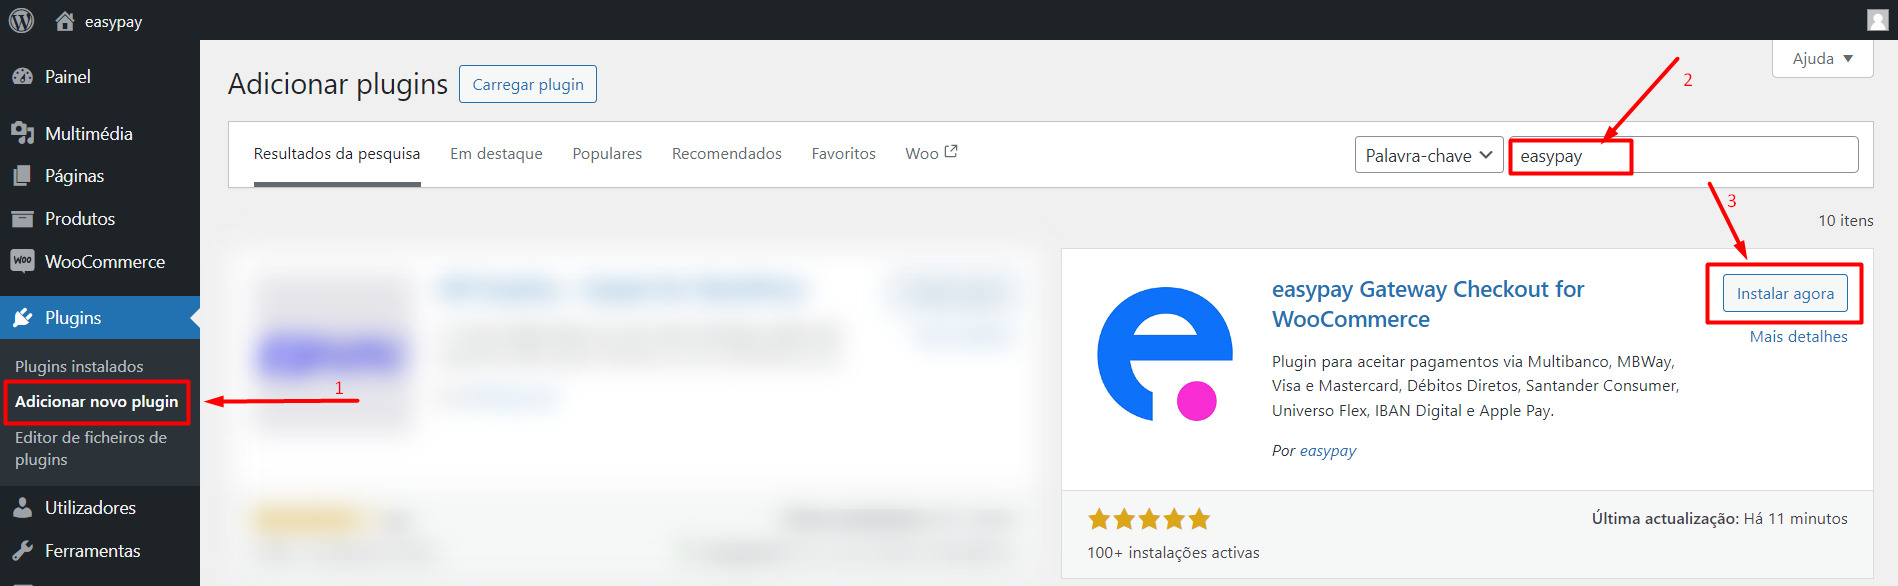
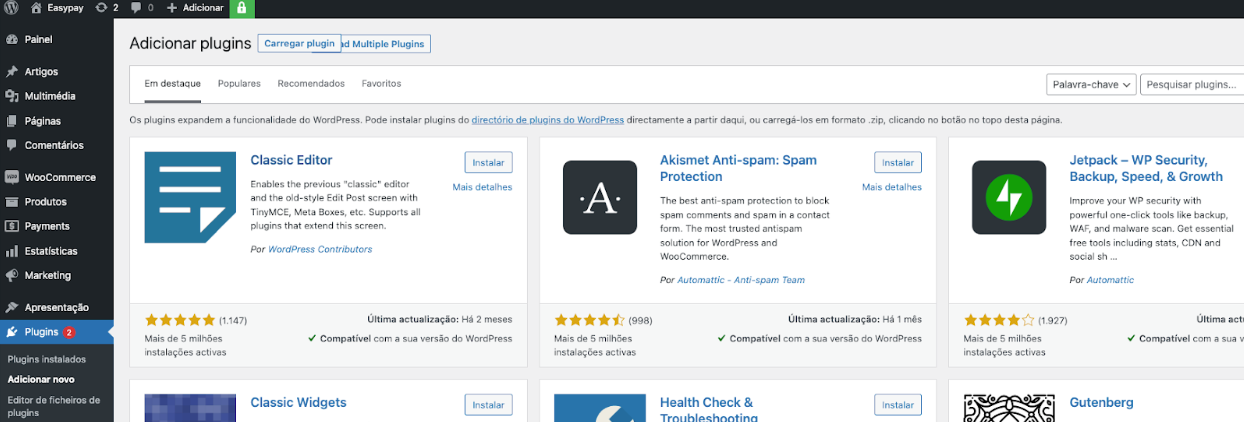
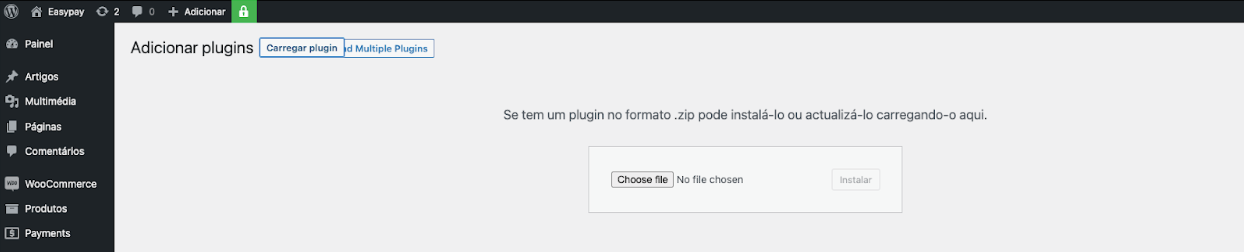
Alternative: Go directly to the official WordPress website (https://pt.wordpress.org/plugins/easypay-gateway-checkout-wc/), download the plugin, and upload it manually.
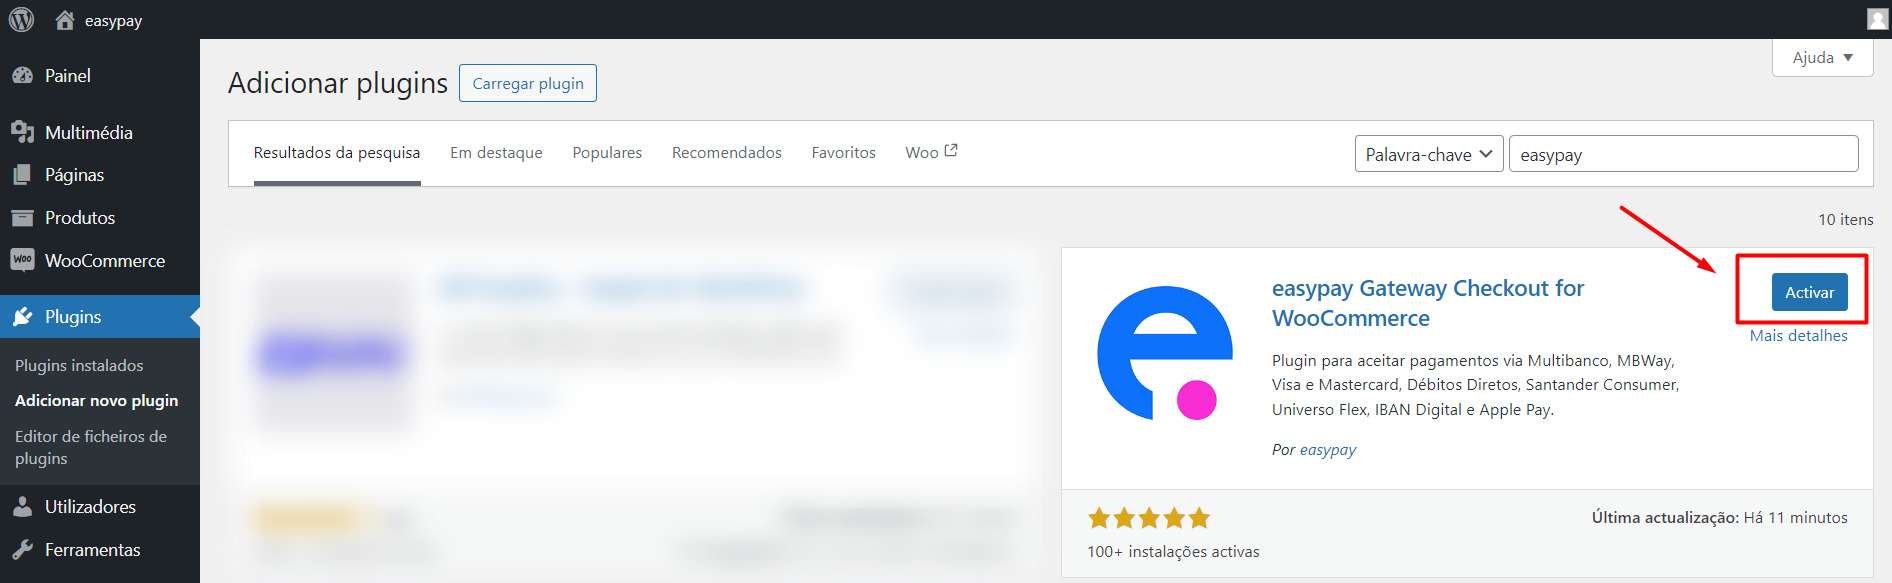
After installing the plugin, you must activate it:
Alternatively, activate the plugin “easypay Payment Checkout for WooCommerce” in the WordPress Plugins section.
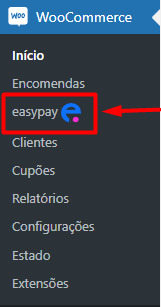
In this step, we will complete the plugin configuration by clicking Settings or, in the left-hand menu, going to WooCommerce > easypay.
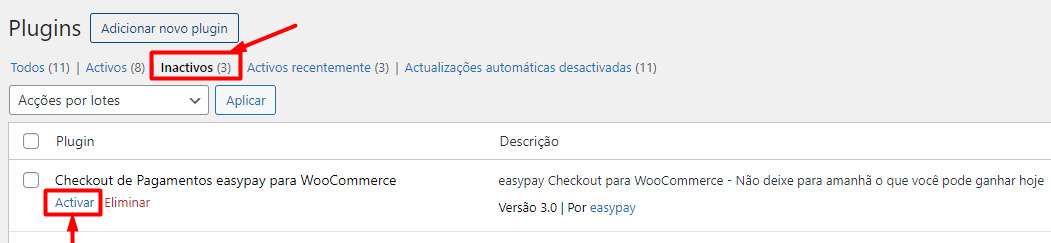
Note: If the plugin does not appear in the payments menu, go to WooCommerce Backoffice > Plugins. In the “Inactive” filter, find “easypay Payment Checkout for WooCommerce” and activate it.

Step 2 – Configure the easypay plugin
Configure the easypay plugin.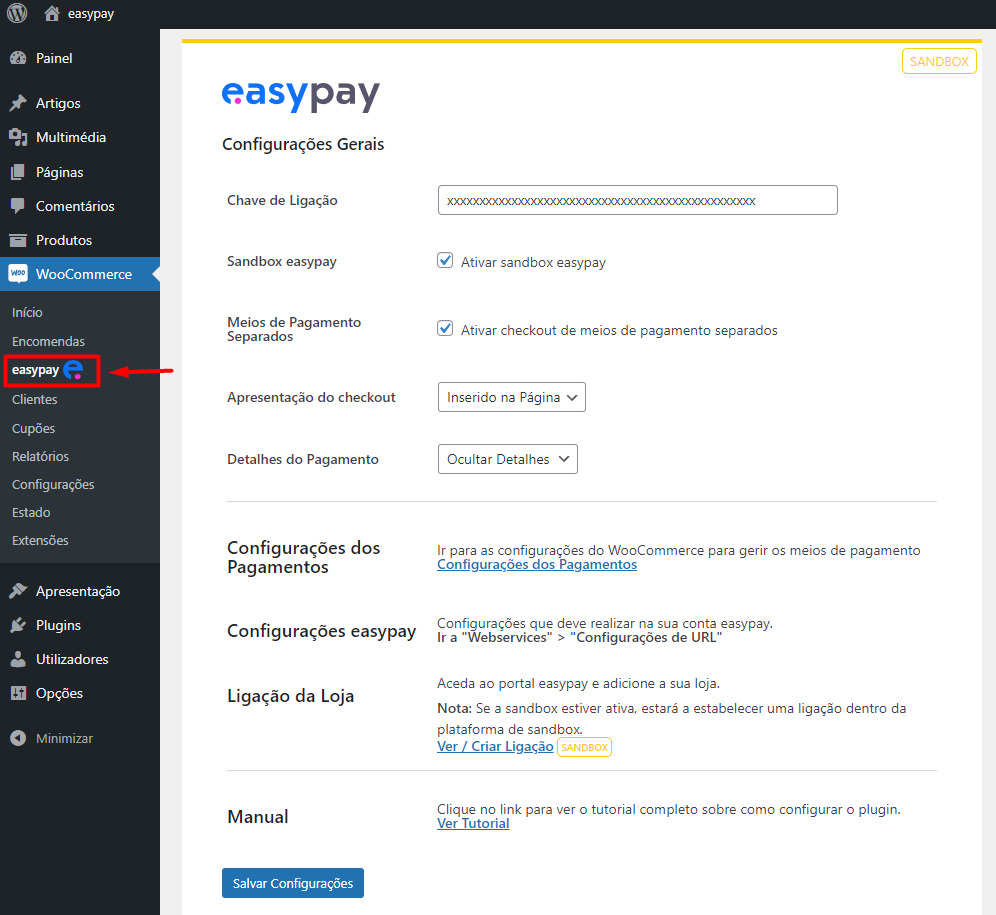
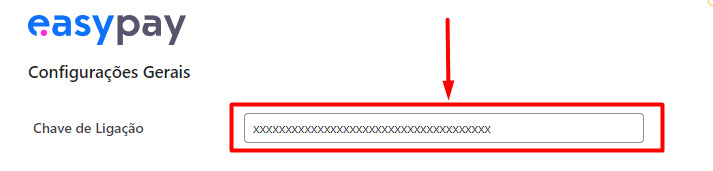
Connection Key: Paste the connection key from the easypay eCommerce platform (explained in detail in the next step).
easypay Sandbox: You can use the plugin in sandbox mode; however, you must create a connection in the easypay eCommerce sandbox platform and go through the same validation process. This should only be enabled if you really intend to use test mode.
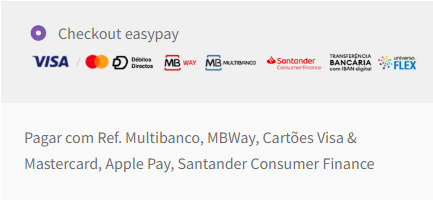
Separate Payment Methods:
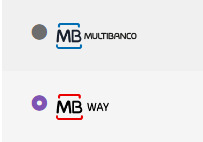
If enabled, the contracted payment methods will be shown separately to the user, allowing them to choose the payment method to complete the purchase.Example:

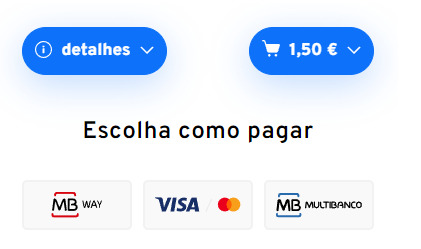
If disabled, the payment methods will appear for selection in the easypay checkout, so customers only make a single choice of payment method.
Example:

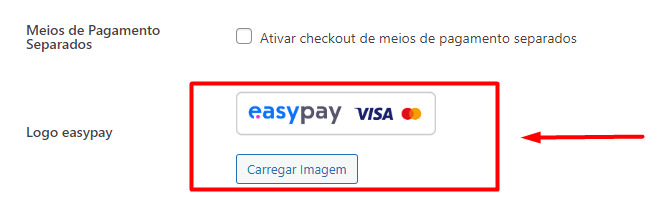
Note: with this option enabled, it is also possible to change the default displayed logo. The logos can be downloaded from: https://www.easypay.pt/brand-center/
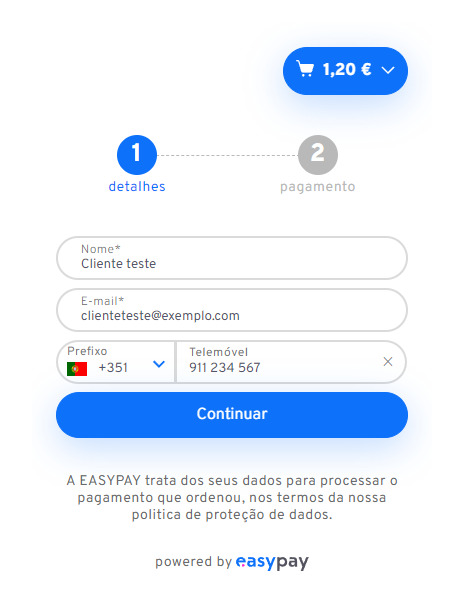
Checkout display: embedded on the page – The easypay checkout appears embedded within the WooCommerce payment page.

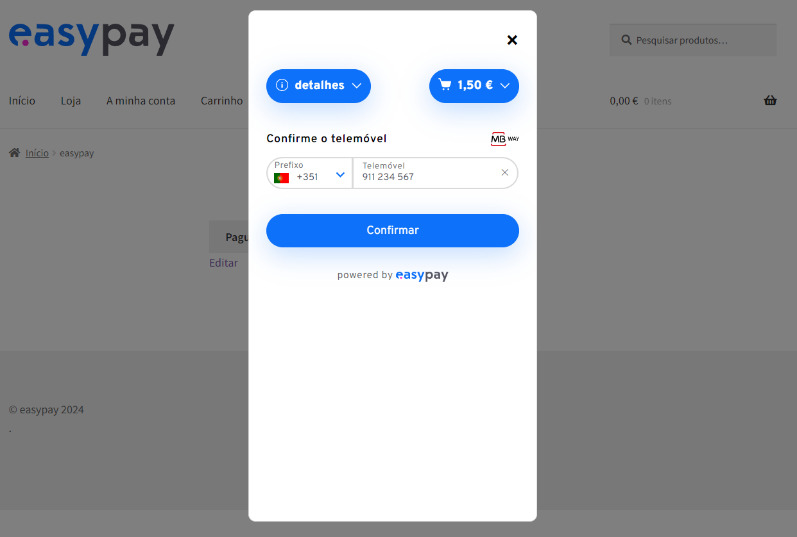
Popup – A button appears on the easypay WooCommerce payment page, and when clicked it opens the easypay checkout in a popup window.
This feature opens the payment checkout in a popup.
If it is closed, there is a “Pay Now” button, which is automatically styled according to the template used.
This option is recommended when you need to keep content visible behind the checkout instead of having it take up space directly on the page.
Note: It does not appear as a popup on the “Checkout” page, but rather on the payment page.
Payment Details:
Hide Details – If this option is selected, the user will not see the information window in the easypay checkout (they will not need to make two clicks to complete the payment). However, if the user has not filled in some required fields, step 1 of the details section will still be displayed.
Show Details – If this option is selected, the user will see a summary of their information.
Payment Settings: Here you will find the direct link to enable or disable payment methods in WooCommerce.
Note: Make sure that the easypay payment methods you want to use are enabled.

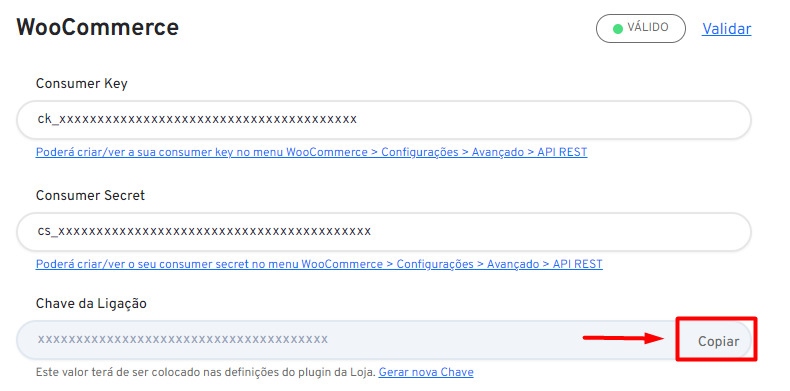
Step 3 – Generate the Connection KeyIn the easypay eCommerce platform, you must Copy / Generate Key and paste it into the easypay WooCommerce plugin in the “Connection Key” field.
easypay eCommerce platform:
easypay WooCommerce plugin:
- Configure WooCommerce API
Configure and validate the WooCommerce API Consumer Key and Consumer Secret. This allows easypay to communicate with your WooCommerce store.
In your WordPress dashboard, go to:
WooCommerce > Settings > Advanced > REST API: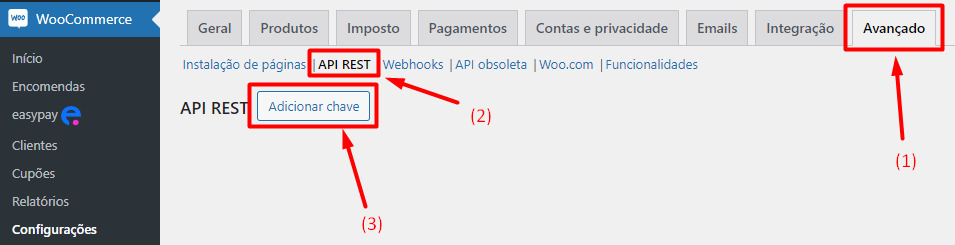
- Add REST API Key in WooCommerce
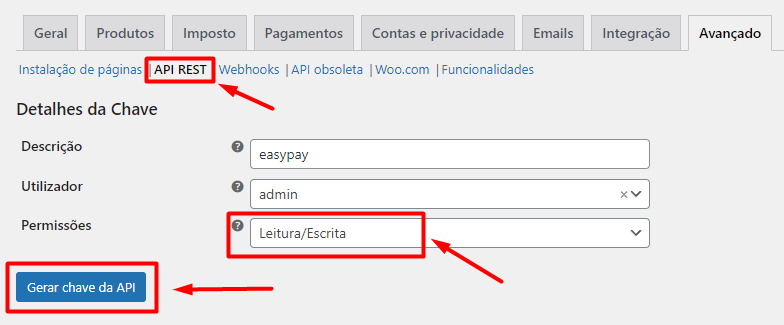
- Add REST API Key in WooCommerce: Add a description > Select user
- The most important configuration in this step is to ensure that the permissions are set to “Read/Write”, and then click Generate API Key.
Finally, simply copy and paste the keys into the respective fields shown previously in the eCommerce platform and click Validate.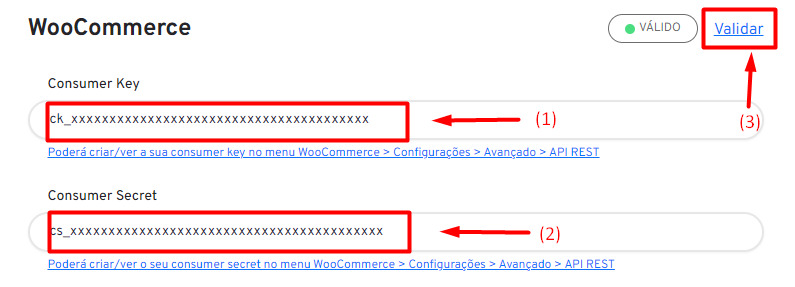
- Home Page – easypay e-Commerce Platform
All connections associated with your easypay account are listed here.
You can easily check several types of information:- Whether the store is active
- Whether the store has been verified by easypay
- Whether the store has valid easypay data
The configuration status of WooCommerce and easypay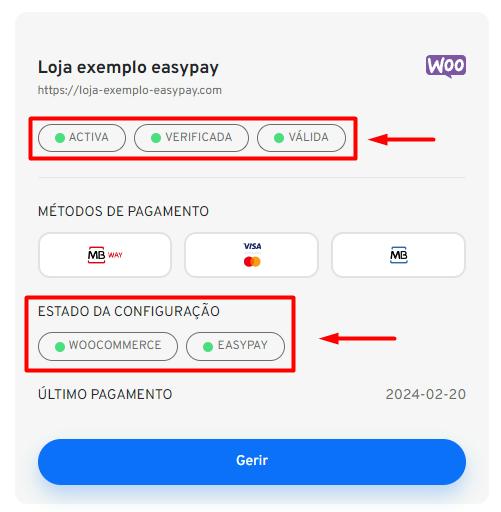
- Customize Checkout Style – easypay eCommerce Platform
You can style your final checkout by adjusting the available options on the connection page.
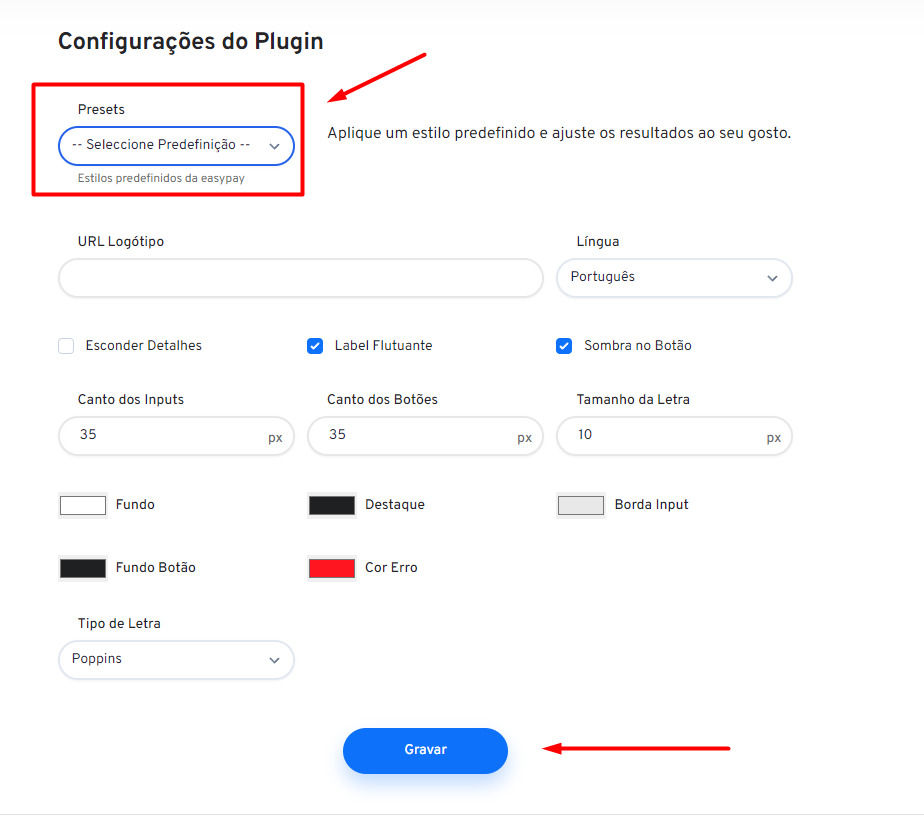
Presets: you can choose predefined styles provided by easypay.
Logo URL: you can add a URL for your logo.
Language: currently, this is automatically set based on your WordPress configuration.
Hide Details: this is available in the WooCommerce plugin settings.
Font Type: you can select the font type for the checkout interface. Example:
All other options: these are styling settings that you can adjust according to your customization preferences.
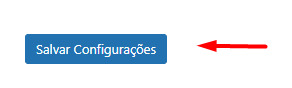
Save: finally, simply click the Save button. -
Payments Page – easypay eCommerce Platform
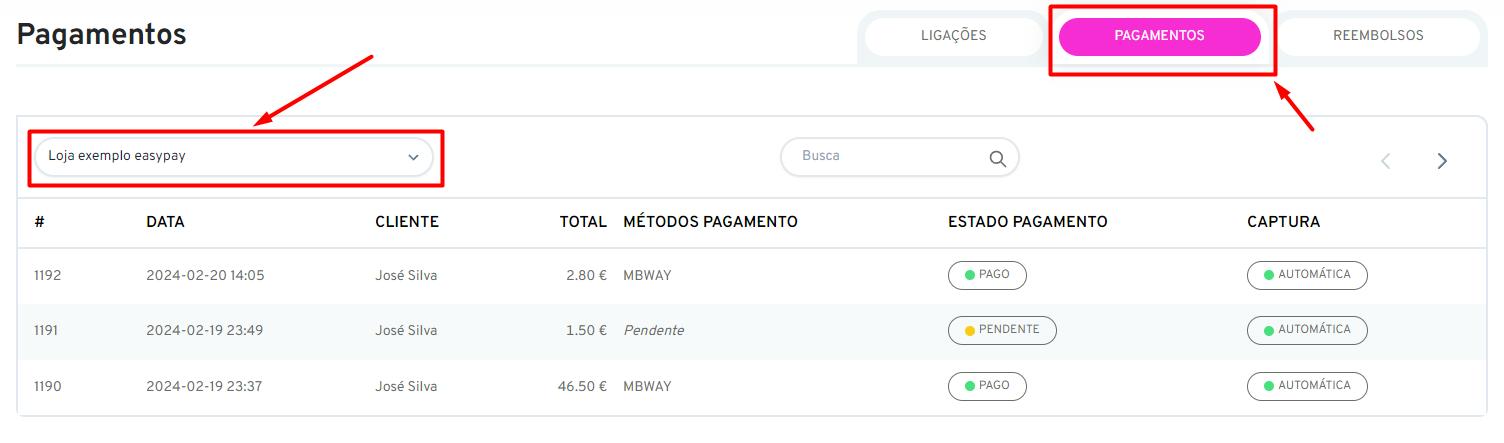
Here you can view all orders placed using easypay only.
If another payment method is used in WooCommerce that is not easypay, it will not appear in this screen.
You can quickly view the date, customer, total amount, payment methods, and order status.
If the user has more than one registered store, they can select which store they want to view, as shown in the figure above.
- Developer Information
If the eCommerce platform does not validate the connection with the eCommerce API, you should ensure that you can successfully make an API request to WooCommerce.
Below is an example of a basic test that can be performed using Postman:
GET the endpoint [WooCommerce URL] + /wp-json/we/v3/taxes
Use Basic Authentication with the Consumer Key and Consumer Secret generated in the WooCommerce API.If no results are returned, you should check your server configuration or WordPress settings.
- Company tax identification number
- Screenshots of the current configuration
- Screenshot of the error message
Communication URLs (informational)
- https://e-commerce.easypay.pt/webhooks/easypay/generic – (Generic URL in easypay)
- https://e-commerce.easypay.pt/webhooks/easypay/transaction – (Payment URL in easypay)
- https://e-commerce.easypay.pt/webhooks/easypay/authorisation – (Authorisation URL in easypay)
- https://e-commerce.easypay.pt/webhooks/easypay/visa-fwd – (Card Redirect – Visa Fwd URL in easypay)
- https://e-commerce.easypay.pt/webhooks/easypay/visa-detail – (Card Details URL in easypay)
- Configure WooCommerce in Test Mode (Sandbox)
Log in to the easypay test eCommerce platform using the same credentials (email and password) as your easypay test Backoffice.
https://e-commerce.test.easypay.pt/
A yellow banner will appear indicating that you are in a test environment.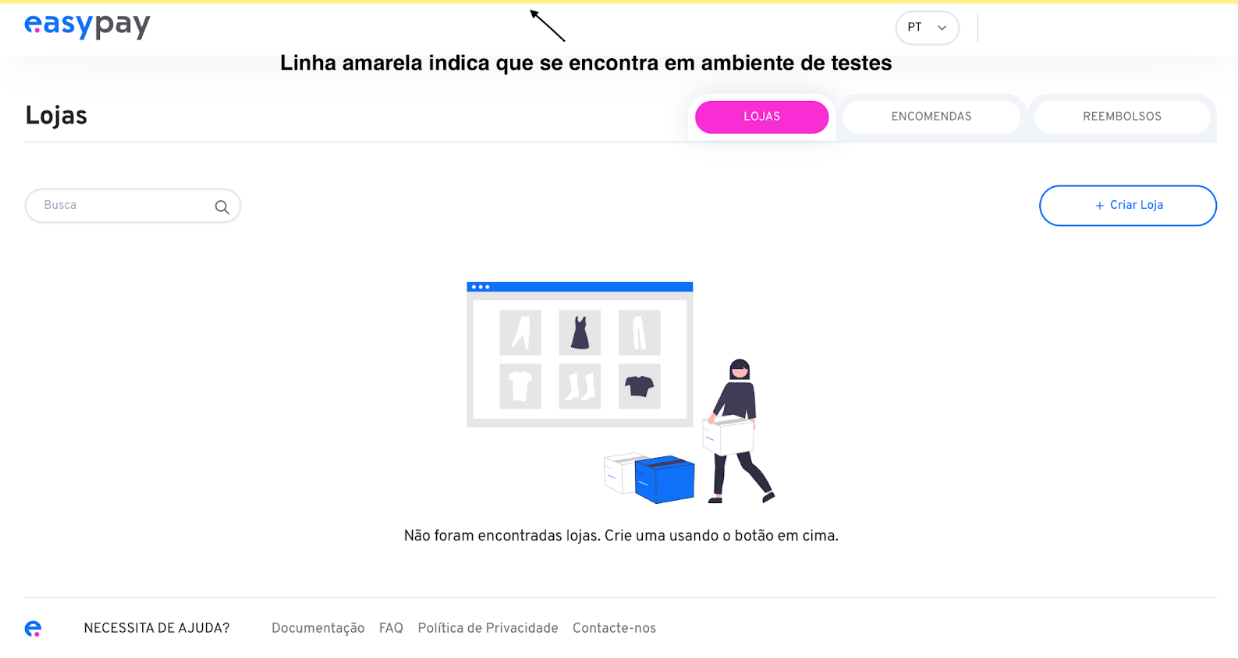
Alternatively, you can always access this menu as follows:
Log in to the easypay test Backoffice > select the “Apps” option > at the bottom, simply click E-commerce.
You will be redirected to a new tab, the easypay test eCommerce platform.
From this point onwards, you can configure everything using the test Backoffice and test eCommerce platforms, following the same integration steps as in production. (All configuration steps in test mode are identical to production settings.)
Sandbox notification URLs:
https://e-commerce.test.easypay.pt/webhooks/easypay/generic – (Generic – easypay URL)
https://e-commerce.test.easypay.pt/webhooks/easypay/transaction – (Payment – easypay URL)
https://e-commerce.test.easypay.pt/webhooks/easypay/authorisation – (Authorisation – easypay URL)
https://e-commerce.test.easypay.pt/webhooks/easypay/visa-fwd – (Card Redirect (Visa Fwd) – easypay URL)
https://e-commerce.test.easypay.pt/webhooks/easypay/visa-detail – (Card Details URL – Visa Details – easypay URL)