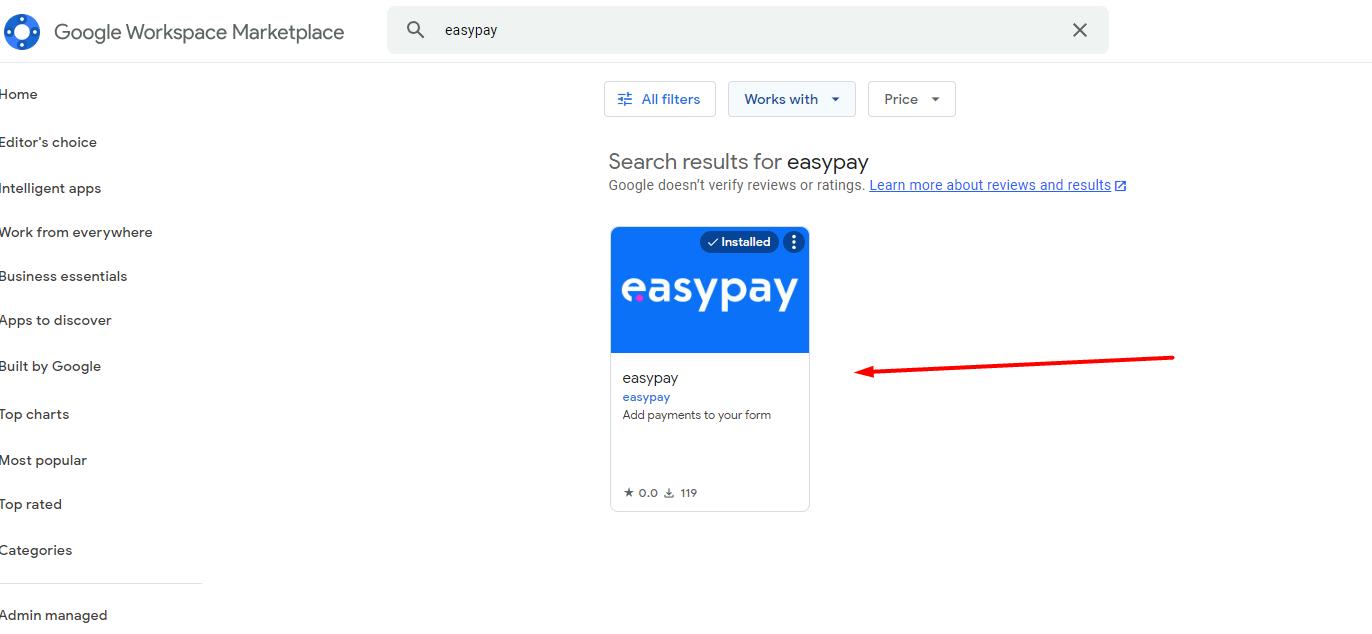
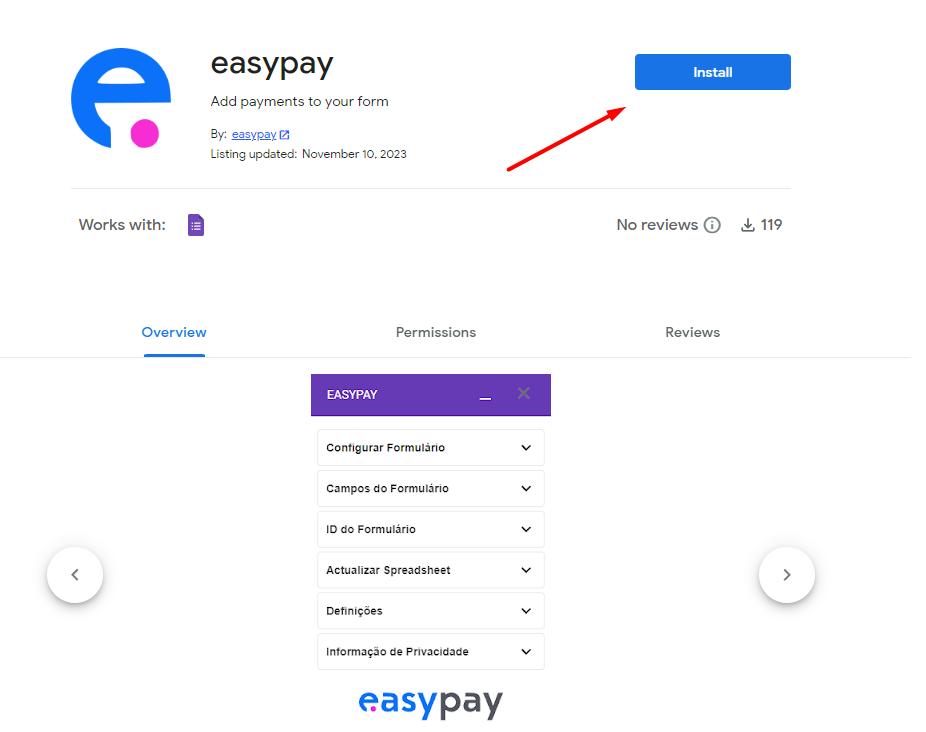
- Install the easypay Add-on: go to the Google Marketplace, search for easypay, and install it.
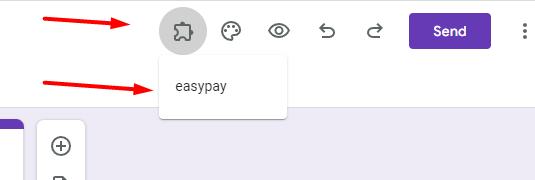
- Create a Google Form and open the Add-on section. Then open the installed add-on to start configuring it.
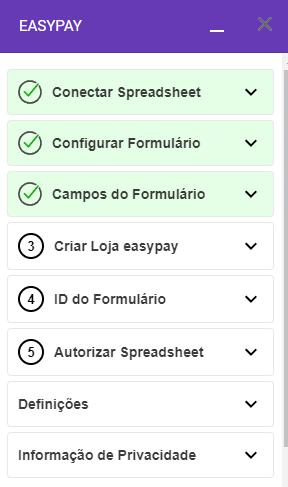
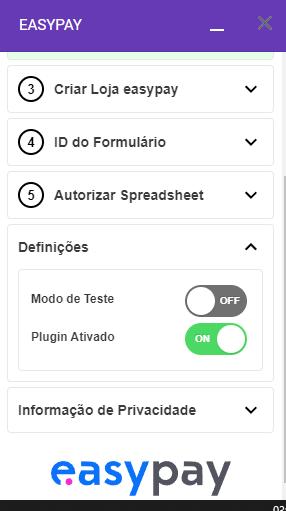
- easypay Add-on settings: the setup consists of 5 very quick configuration steps. The first 3 steps are Google configuration steps that easypay will complete automatically.
-
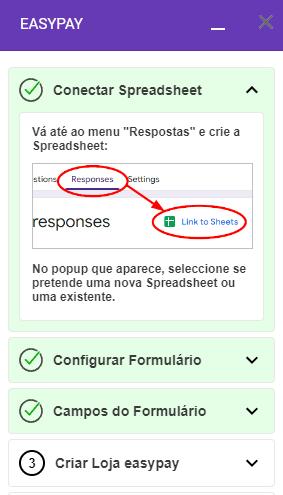
Initial Step – Connect the Form Spreadsheet: go to the form's responses menu and link a spreadsheet to the form.
After that, click the “Confirm” button in the Initial Step.
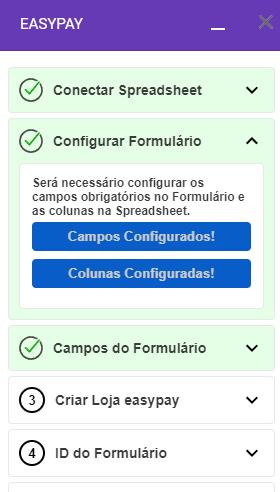
- Form Configuration: In this step, you will click to automatically configure the required fields in the form and the necessary columns in the form’s Spreadsheet. The user only needs to click the two buttons, and the add-on will automatically handle the process.
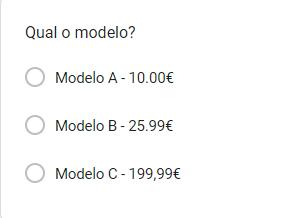
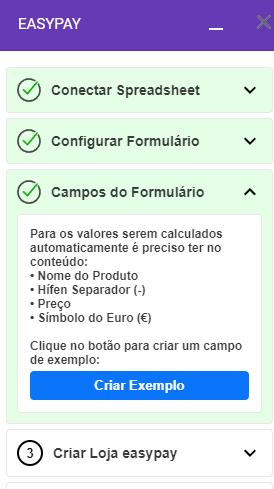
- Form Calculated Fields: for values to be calculated automatically, the form fields must follow these rules:
- Product Name
- Hyphen separator (-)
- Price
- Euro symbol (€)
In this step, by clicking the “Create Example” button, a field is automatically generated in the form with these rules applied.
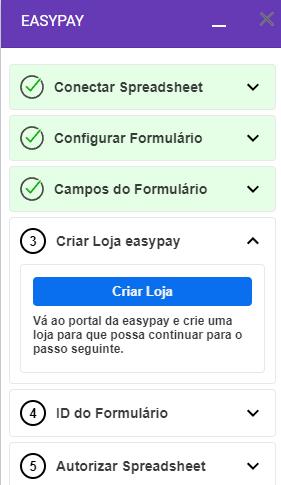
- Store Creation: for easypay, each form is referred to as a “Store”.
Once registered with easypay, you can log in and create a Google Forms-type store to integrate easypay and its payment methods into your form, making the entire process automatic.
To do this, the user must access the easypay portal (https://e-commerce.easypay.pt/) and create a store to proceed to the next step.- (When clicking “Create Store”, a new tab will open in the easypay portal mentioned above.)
- (When clicking “Create Store”, a new tab will open in the easypay portal mentioned above.)
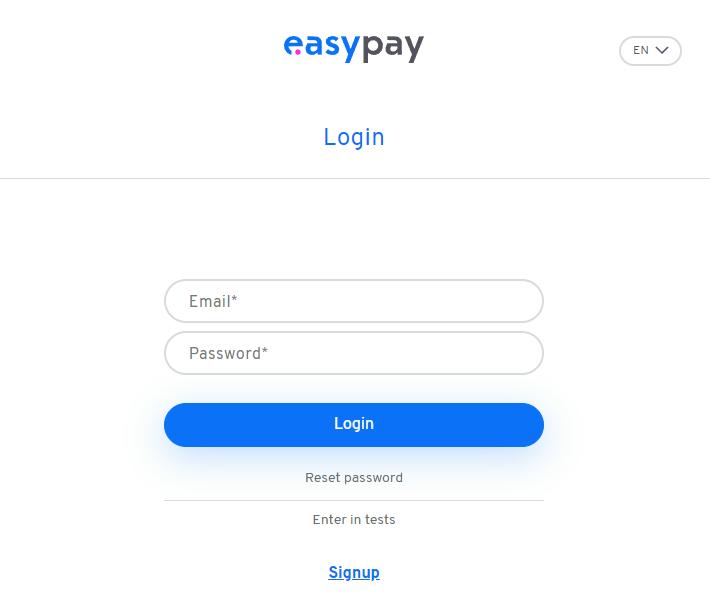
- Log in to the easypay Backoffice
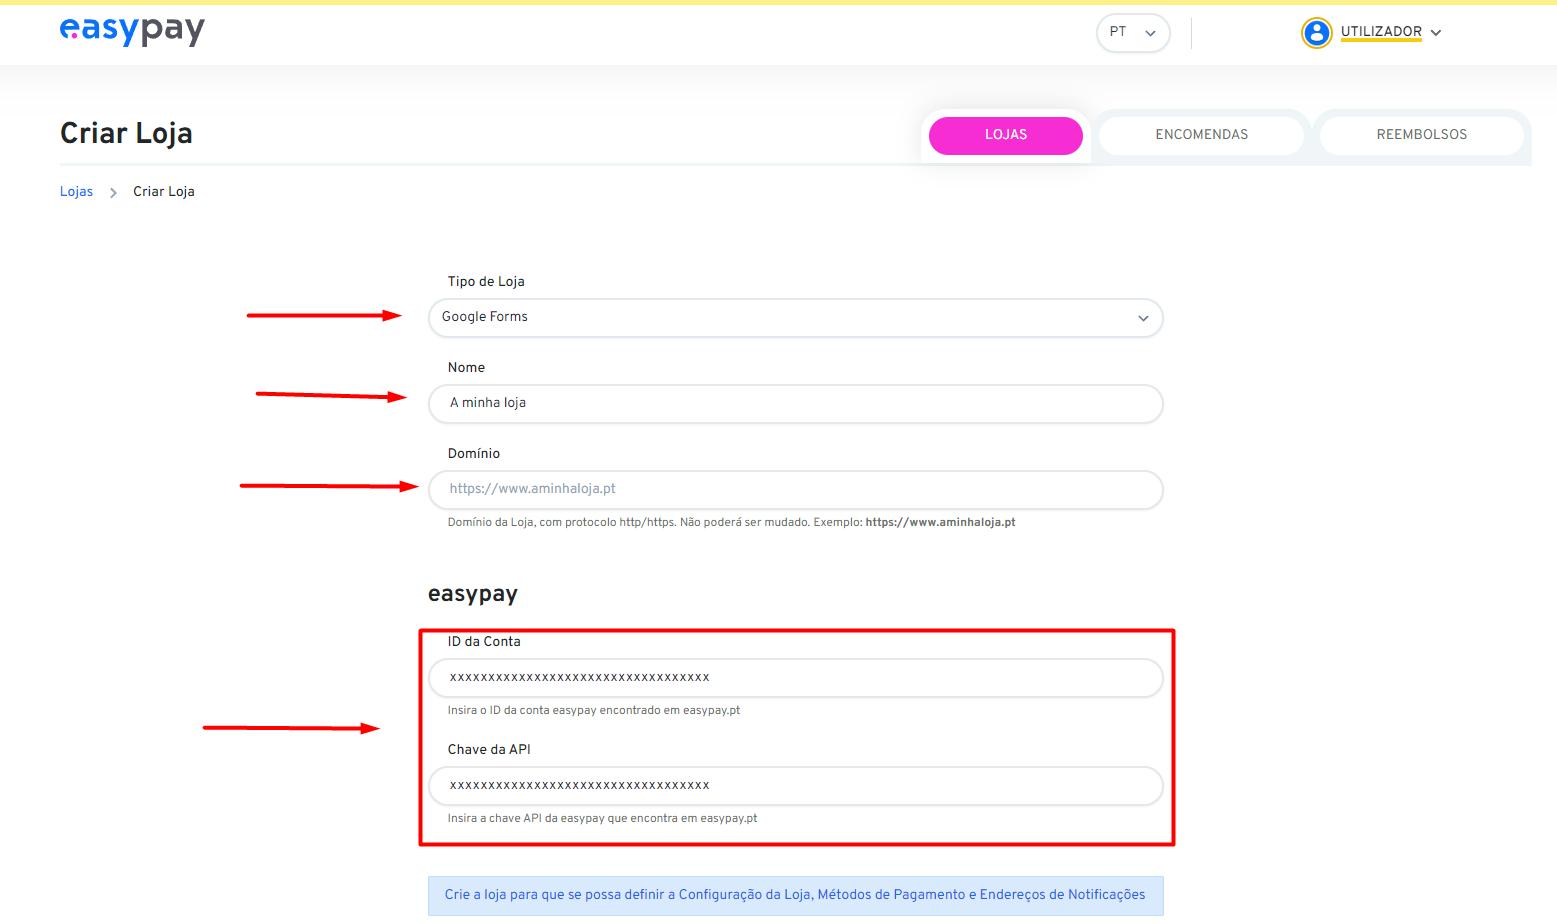
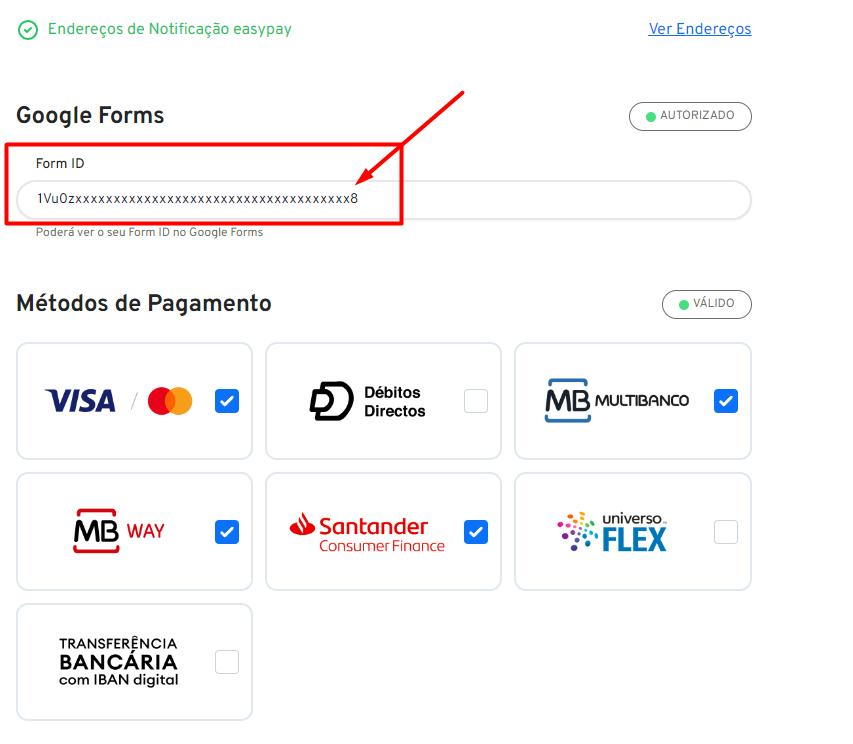
- Create a Google Forms store: select the store type - Google Forms. Fill in:
- A name of your choice
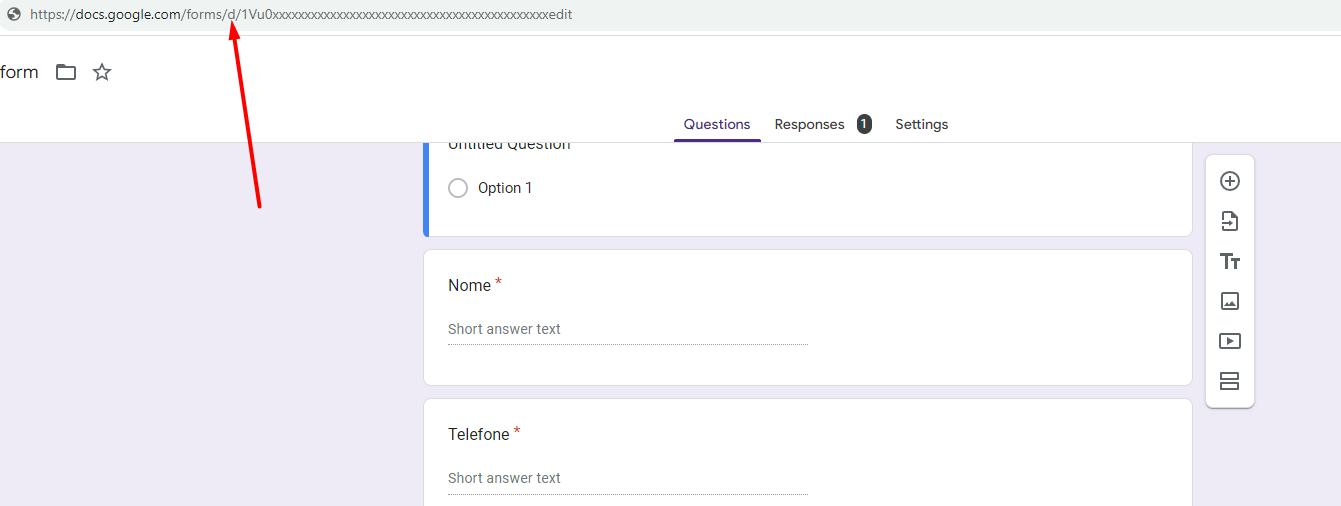
- The URL of the form you are editing (see next figure)
- The easypay details
-
Copy the Form URL

- Copy Form Identifier: in order for easypay to link payments to the Google Form, it needs to know the form ID.
Simply click the “Copy ID” button and paste the identifier into the easypay portal you are configuring.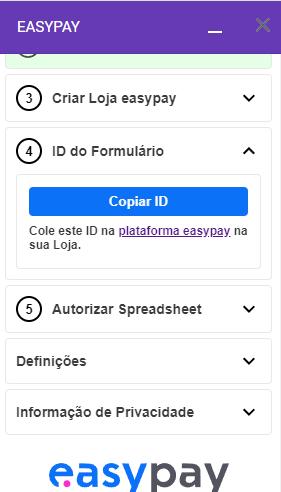
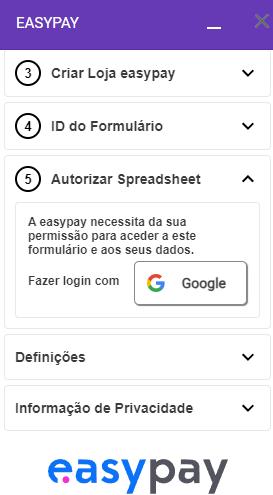
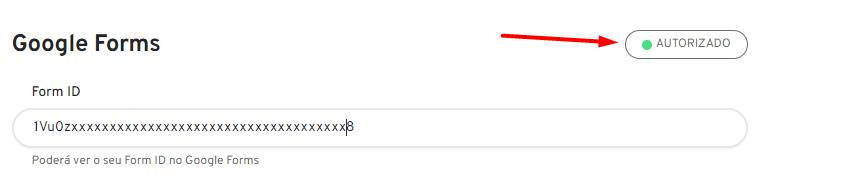
- Authorize the Spreadsheet (final step): i n order for easypay to update the Spreadsheet with payment data, user permission is required to access the form. You only need to click the Google button and accept the permissions.
- Add-On Settings: by default, the Add-On is enabled and ready for production use. If test mode is active, the entire Add-On will run on easypay’s sandbox environment. In this case, you must perform the steps described above in the e-commerce portal using the sandbox link.
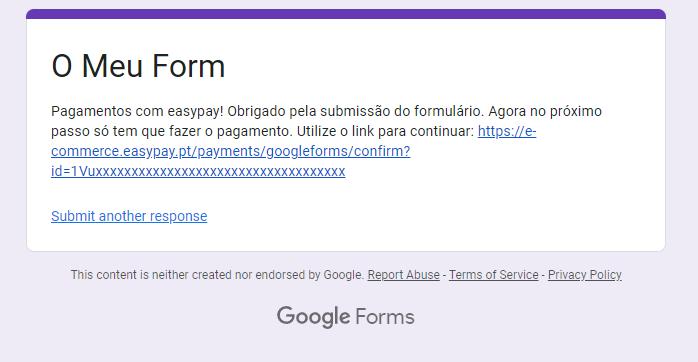
- Form Submission: when a user submits the form, they will see an explanatory message as well as a link to proceed with the payment on the easypay platform.
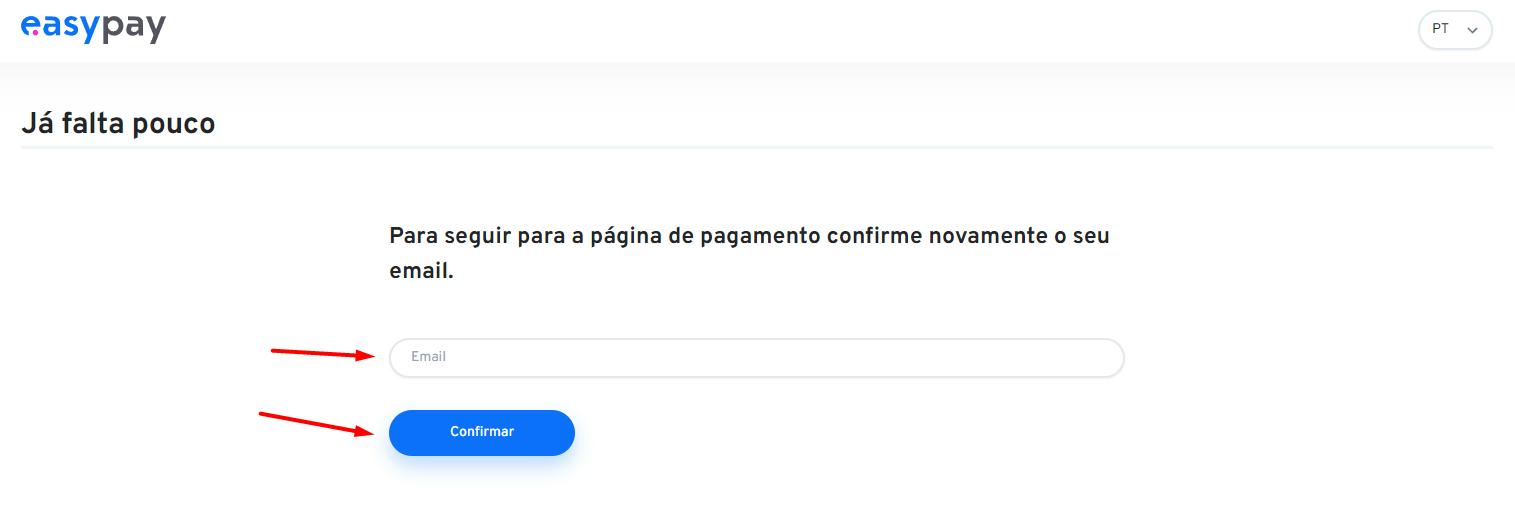
- Pay with easypay: when the user clicks the link mentioned above, they will be redirected to a payment page. On this page, they only need to enter the email used in the form submission. After clicking “Confirm”, the easypay checkout will appear, where the user can select any payment method and complete the payment.
- Payment Status: once the payment is completed, the Spreadsheet will be automatically updated with the payment status.
English